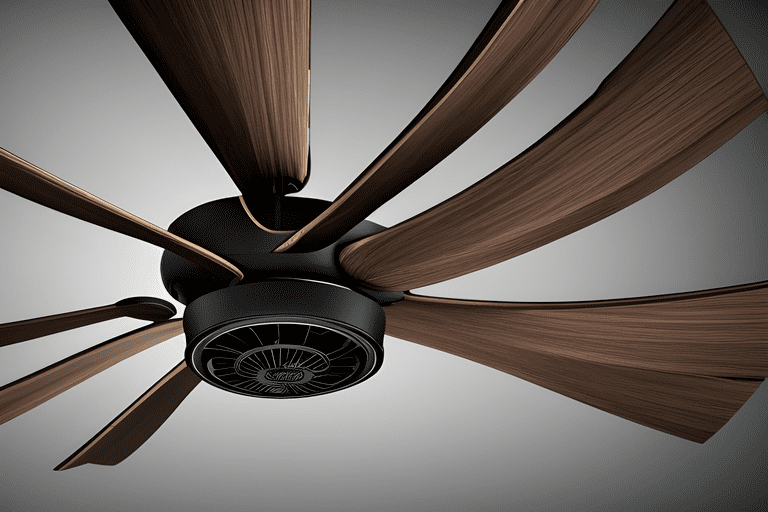
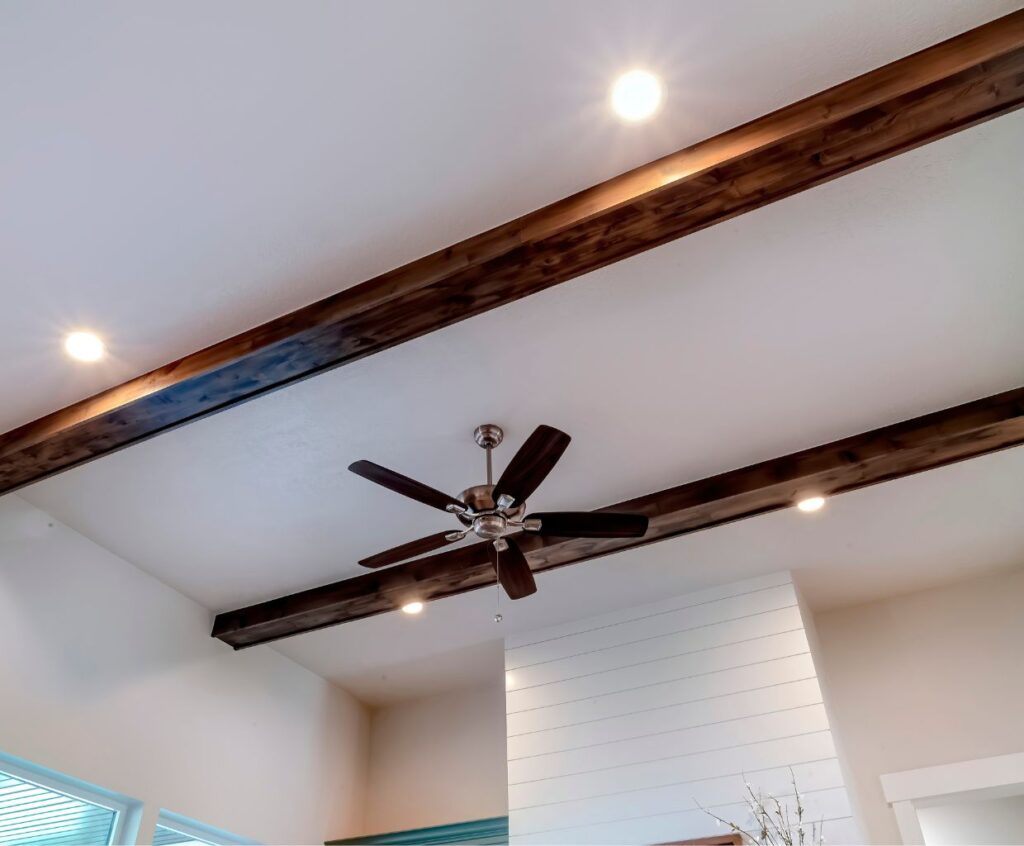
How to Clean a Fan in Five Simple Steps?
In the warm months, fans are necessary for cooling off and keeping your house from getting too hot. But do you know how to clean your fan?
It’s easy! I can teach you everything you need to know about cleaning a fan in five steps.
Contents
Why clean your fan? Main benefits
We know, we know: cleaning your fan is a pain in the neck. You’ve got better things to do with your time. But hear us out—cleaning your fan can be a quick and easy way to keep dust and dirt from building up inside your home, which is especially important if you have allergies or other respiratory issues.
Here are some reasons why you should clean your fan:
- Cleaning your fan regularly helps reduce dust buildup in the air, which can cause breathing problems for people with asthma or allergies.
- A clean fan helps prevent mold from growing on the blades or motor casing, which can affect the air quality in your home.
- Dirty motors are not only unattractive but also inefficient—so if you want to save money on your energy bills by using less electricity, you’ll want to ensure that your fans are clean!
What do I need to Clean a Fan?
The first thing you’ll need to clean a fan is a towel or cloth. This can be any old towel or cloth, as long as it’s not too thin or abrasive.
Next, you’ll need something to clean with. You can use soap and water if you want, but I recommend using rubbing alcohol—it will eliminate dirt and grime more effectively than soap and water.
Finally, you’ll need paper towels or rags to dry everything off after cleaning.
Time to Clean the Fan!
Now that you’ve gotten your supplies together, it’s time to start.
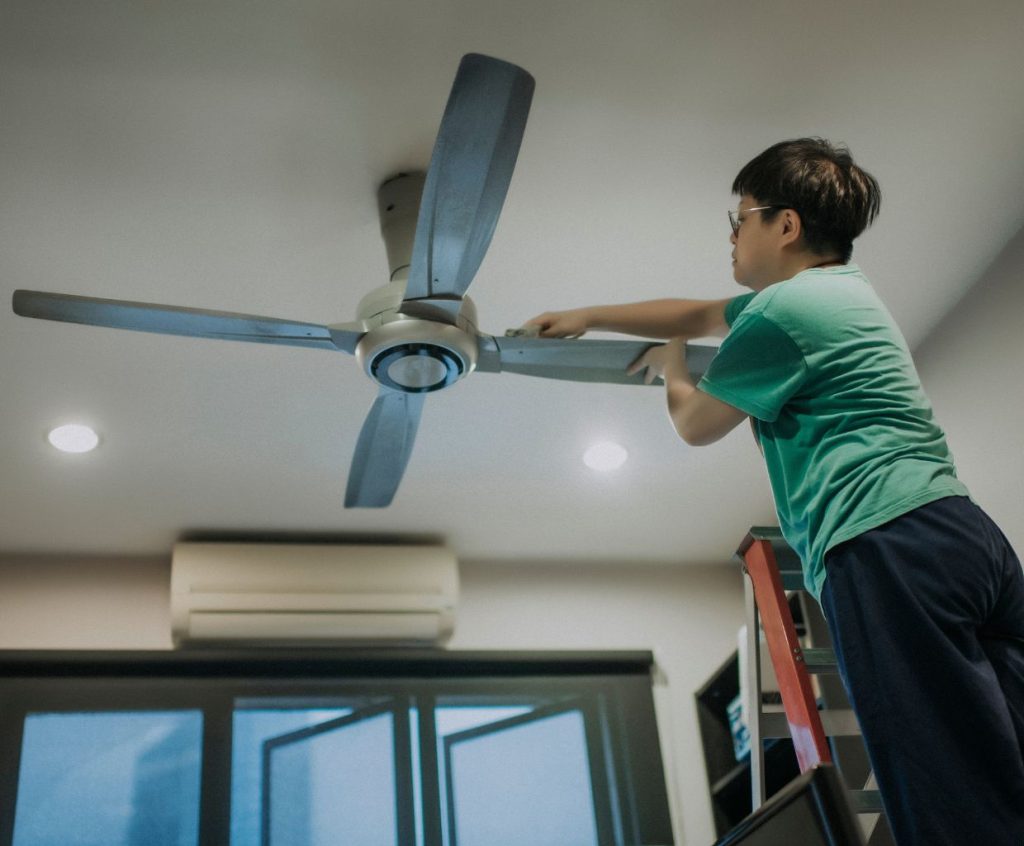
Take the Cover Off the Fan
To start, take the cover off your fan. You can do this by loosening all the screws on the back and pulling out a belt guard (a piece that keeps you from accidentally hitting blades with long hair).
Once you’ve got your fan apart, pull out each blade and wipe them down with a cloth or paper towel. Then, clean off any dust inside the grid using a vacuum cleaner attachment with an extension tube to reach deep into those crevices.
Finally, wipe down any baseboards or other areas where dust has collected around where your fan has been sitting until now!
Pull Out the Blades
Use a screwdriver to remove the blades. To do this, grasp the blade with your thumb and forefinger and gently pull it out of its slot. Be careful not to touch the fan’s motor with your hands or any other body part; you should always handle it by its frame instead. If there are any loose screws or bolts from where you removed the blades, put them in a safe place so that someone else doesn’t accidentally step on them later (or if they do, at least you’ll know what caused their injury).
This method can also be used for cleaning fans with plastic frames–but note that some plastic frames may be very delicate and break if exposed too long to direct sunlight or harsh chemicals such as bleach! If this happens during cleaning, throw away all parts, including blades, since they are now contaminated.
If using water seems like too big a risk, then use another method instead: dust off all surfaces after taking them apart so that they’re clean before putting them back together again later on down the line when finished restoring functionality without causing further damage/confusion/overhead costs while fixing these problems…
Wipe Down the Blades, Grid, and Base
After you’ve cleaned the blades and base, the next step is to wipe down the grid or the metal plate behind each blade that helps keep it in place. To do this, use a damp cloth and wipe down each of these surfaces individually. You can also use a dry cloth to ensure everything is dust-free after drying off your fan’s body.
Finally, once all surfaces are clean and dry (or as close to dry as they’re going to get), vacuum up any dust, you missed with your cleaning cloths. This will help ensure no particles are left behind when you put your fan back together!
Put It All Back Together Again
You’ve done it! You’ve removed your fan, cleaned it, and put it back together again. As you put everything back into place, ensure the blades are facing the right way. The next thing to do is check that the fan is securely assembled. One of the easiest ways to do this is by turning on your ceiling light and holding the blades in front of a mirror so you can see if they’re vibrating too much or not enough (if they move). Next, plug in your fan and test if everything works – we call checking for one final time!
How to clean your fan without getting dust everywhere in three painless steps
In three manageable steps, clean your fan without getting dust everywhere.
- Put the fan on a table or countertop. If you have an oscillating fan, make sure it’s facing down so that you can see all its parts.
- Take off any blades before cleaning them (or remove them from the base). Be careful not to cut yourself!
- Wipe down any grids and bases with a damp cloth—or even better, use another plastic bag as a disposable cleaning tool!
How to Clean a Fan – Conclusion
In this article, we’ve shown you how to clean your fan without getting dust everywhere. We’ve also shown you how to clean specific parts of your fan and what tools you can use.
This quick and easy method will save you time and money without sacrificing cleaning results.
We hope this article has helped you learn more about how to clean a fan in simple steps!